Integrated Telehealth
Navigation
- How it works
- Setup
- The waiting room
- Starting a call
- Managing multiple telehealth participants
- In-session features
- Resizing the window
- Updating appointment reminders
- Troubleshooting
How it works
Telehealth currently supports up to four total people in a call, including the practitioner. The most common psychotherapy configurations are supported including: individual, couples, and two parents with a minor. (We will release a group telehealth therapy feature in the future.)
Integrated telehealth works within your web browser while you have the Sessions Health application loaded. We support the three most recent versions of each major browser (Chrome, Safari, Firefox, and Edge ) For the best experience, we highly recommend regular web browser updates.
Our default resolution is high definition (1280p). However, the resolution depends on the strength of the network and may throttle to a lower resolution if the network doesn't support a higher resolution.
Your telehealth URL link will be a single URL per practitioner, so anyone with the link can check in to your waiting room at any time. Once checked in, you can:
- Start a call with your client(s)
- Chat via instant messaging
- Remove client(s) from the waiting room
Note: Integrated telehealth is priced as an add-on for $10/month per practitioner.
Setup
To configure Telehealth settings, navigate to Account Settings > Telehealth and click Setup Telehealth next to a member's name.

In the Telehealth Settings pop-up, Administrators can enable Sessions Integrated Telehealth by selecting the box on the left, while Practitioners can configure Another Telehealth Provider by selecting the box on the right and saving their choice.

Create a Custom URL*: After selecting the Sessions Integrated Telehealth option, you will need to create a custom URL. This will be the link that all clients will use to enter the waiting room of the practitioner. To do this, click inside the blank field following the text " https://meet.sessionshealth.com" and type in your unique URL name.
The name must be alphanumeric with no spaces, and you can choose any name you like, as long as it is not already in use.

If a telehealth configuration already exists, you can Edit it to make changes or Remove it altogether. Once setup, all newly created sessions that use telehealth will default to use your new integrated URL.
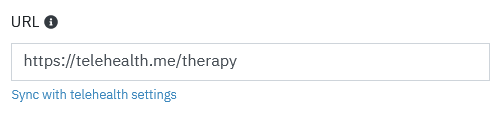
If you did not select to Assign to all future telehealth appointments, you may go into your existing appointments and click the Sync with telehealth settings link next to the URL field to update the appointment with your new telehealth URL.
The waiting room
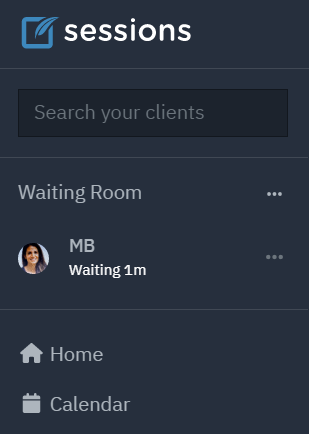
You will see the Waiting Room in your account's navigation sidebar. This is where you can see and manage all the guests waiting or in-session. If no one is in the waiting room, you will see a Nobody is here message.
Waiting room settings
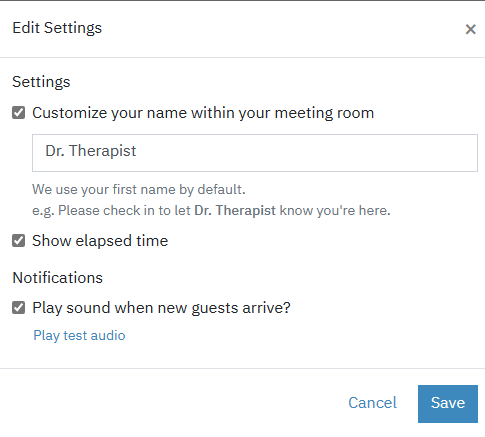
Click on the '...' menu to see the settings for the waiting room.
Your Name - you may change the default name from just your first name to whatever you'd like to appear. For example, you may prefix your name with your title, or use a nickname that you use with a particular client.
Notifications - you may toggle whether to play an audio notification when someone enters your waiting room.
Elapsed Time - you may toggle whether or not to show the session's elapsed time.
Starting a call
Steps for a call
- Guest visits your telehealth URL
- Guest provides permission to Sessions Health to access camera + microphone
- Guest enters their name and checks in
- Guest will appear in your waiting room. The name they entered will be displayed within the Waiting Room section
While in the waiting room, the guest or practitioner can use the chat features to send a message to each other. The practitioner may also remove the guest from the waiting room by click "..." next to their waiting room profile.
- You will hover your cursor near the guest display and start the call by clicking the Start Call button.

Managing multiple telehealth participants
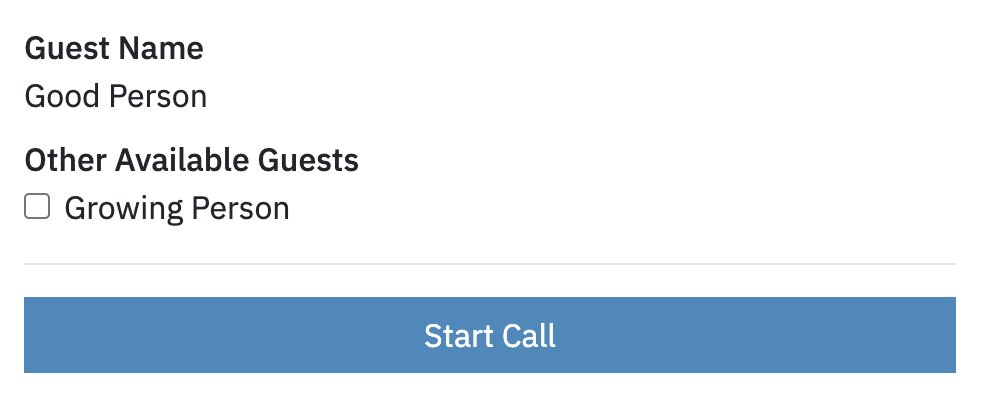
When there are multiple participants in the waiting room such as for a couples therapy session, you can click Start Call for one of the guests. You'll have the option to add other participants in the waiting room prior to starting the session. Check the box next to each person to include, then click the Start Call button.
Note: If additional participants join after a call has started, they may still be brought into the call from the waiting room by clicking "..." next to their waiting room profile, then Add to Current Session.
If you have multiple browser tabs or windows open with Sessions Health page loaded, you may join the call from any of them. If you join the call in a different tab or window, the call will be removed from your prior tab or window.
In-session features
- Chat
Chat will allow you and the client to send instant messages to each other while connected to a session. These chats are not viewable after the session ends. All participants of a telehealth call can view all messages sent in the chat window.

- Mute/unmute audio/video
Clicking the microphone icon will toggle whether the microphone is muted or not.

Note: If the host has muted a participant's microphone, only the muted participant can unmute their microphone. This is done by the participant by using this icon.
Clicking the video icon will toggle whether the video is on or not.

- Change audio/video output, change audio input (if multiple options available)
Sometimes, people have connected to Bluetooth using headphones or other devices after joining the session. If the device isn't selected when joining, you or the client may need to change the device after the session has started.
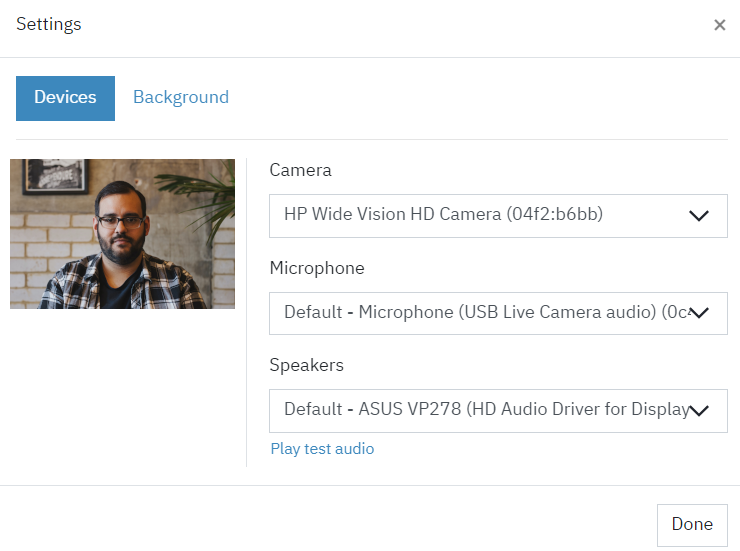
First, click the '...' menu and click the Device Settings option.

Next, you will see the device settings popup. Select the appropriate devices.
- Background
To blur or add a background, click the '...' menu and click the Background option.
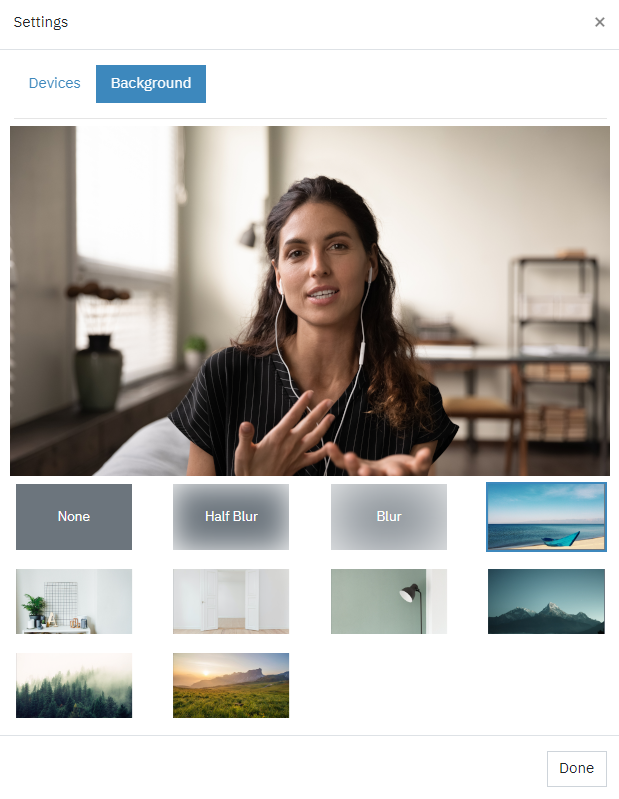
You may then choose a Half Blur, Blur, or other background image from the selection. We don't currently support adding your own background.
Note: The Safari browser and some devices does not support the background feature.
- Screen sharing
First, click the '...' menu to see the Share Screen option.
Next, you will see the sharing options. The sharing options window will look different depending upon what browser you are using. Once you share your screen, the other person in the call will be able to see the screen sharing option you have chosen (tab, window, entire desktop, etc.).
- End Call
You may end the call multiple ways. One way to end a call is by clicking the X icon on the toolbar in the video.

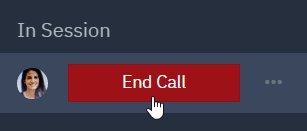
Another way to end a call is by hovering over the client's name in the waiting room to display the End Call button. Clicking it will end the call.
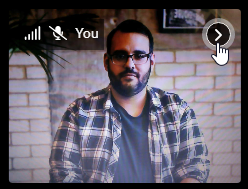
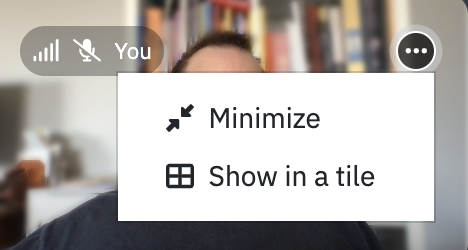
Hide mirrored display
If you don't want to see the preview of your own webcam, you may click the arrow in the top-right of the mirrored display and select Minimize. Your clients may also hide their mirrored preview the same way.
Tiles
The preview can be added as a tile. Clicking the '...' menu and selecting Show in a tile will expand the window to a tile.
It can also be removed as a tile and reduced to preview size. Clicking the '...' menu and selecting Remove this tile will revert the window to the preview size.

Resizing the window
While in session, you can move the in-screen window around and resize it. The in-screen window allows you to access other parts of Sessions Health while in session with the client. This can be helpful if you need to view appointment details, notes, the client's history, etc. Clicking the green button will expand the video to full-screen view. To revert back, press the Esc key. Clients will be limited to the full-screen view. When you're not in full-screen view, you may change the size of the screen by moving your curser near a corner, then click and drag the window.

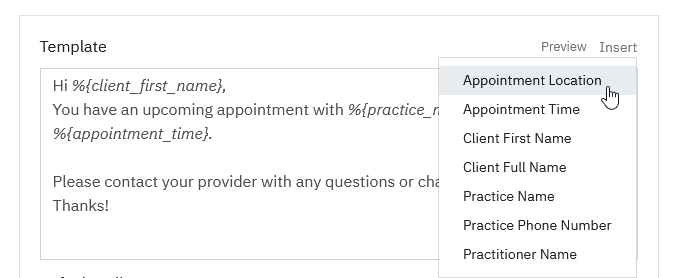
Updating appointment reminders
If you've already setup your appointment reminders, you may want to review them after switching to integrated telehealth. If you have previously added your telehealth URL text directly to your template, we recommend removing that and using the Appointment Location variable instead. This ensures your telehealth URL will be included in your appointment reminders, if the service location is telehealth.
Troubleshooting
Please see the troubleshooting article for details.