Managing Users and Roles
Roles and permissions determine what each team member can see and do in Sessions Health. This article explains how to add and manage users in your account and links to related workflows for permissions, access, and role behavior.
ℹ️ Administrator Permissions are required for member management.
In this article:
- Video Tutorial
- Adding Users to Your Account
- Managing Clinical Information
- Searching and Filtering Members
- Role Descriptions
- Supervision
- Managing Access to Client Records
- Removing a User From Your Account
- Frequently Asked Questions
- Related Resources
Video Tutorial
Manage members and roles to control access, assign responsibilities, and keep your practice organized.
Adding Users to Your Account
You can add new members to your account at any time and choose the roles they need.
To add a new user:
- Go to Account Settings > Members.
- Select + Add Member.
- Enter the user's email address.
- Select their role(s): Practitioner, Supervisor, Scheduler, Biller, Forms Administrator, or any combination.
- Select Send Invite.
The user receives an email to accept the invitation and set their password.

💡 There is no additional charge for Scheduler, Biller, or Supervisor roles.
Managing Clinical Information
Administrators can update a practitioner’s NPI, taxonomy, legal name, and other clinical details used for documentation and billing. For full steps, see Managing Practitioner Clinical Information.
💡 Practitioners can also update their own clinical information from their Profile settings. See Managing Your Profile for more information.
Searching and Filtering Members
Use search and filters to quickly locate users or view members by role.
- Search: Type a name into the search bar at the top of the Members list. Results appear as you type.
- Filter: Select the filter icon under + Add Member to view members by role.
- Choose Select All to view all members
- Deselect it to filter by specific roles

Role Descriptions
Each role defines what a member can access and manage. For full descriptions of Practitioner, Supervisor, Scheduler, Biller, Forms Administrator, and Administrator roles, see Understanding Roles & Permissions.
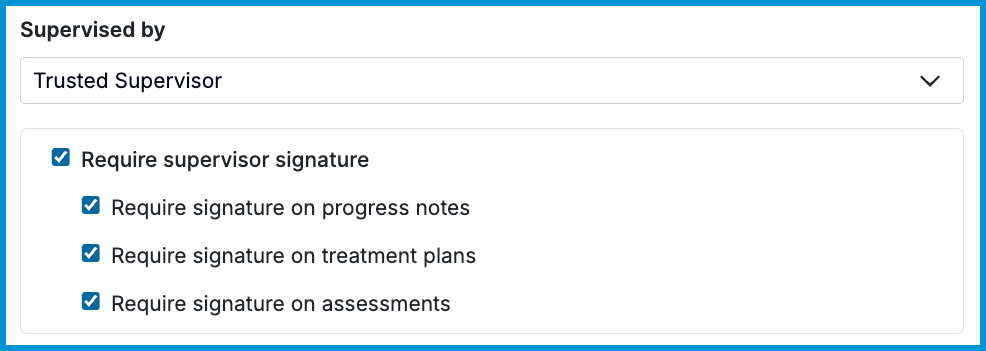
Supervision
Supervision allows designated supervisors to review and co‑sign documentation for their supervisees. For setup steps and supervision behavior, see Supervision: Setting Up Supervision Roles.

Managing Access to Client's Records
Assigned practitioners and administrators can access a client’s record. Additional practitioners may be granted access for coverage or collaboration. For more details, see Managing Access to Client Records.
Removing a User From Your Account
Administrators can remove users when they leave the practice. For full steps, including reassigning clients and incomplete notes, see Removing a Member From Your Account.
Frequently Asked Questions
Can practitioners manage billing without seeing revenue insights on their Home screen?
Yes. Administrators can hide billing summary tiles for all practitioners or adjust visibility for individual practitioners using the Display billing insights on dashboards permission.
Can a practitioner have more than one supervisor?
A practitioner can have one default supervisor. You can also assign different supervisors at the client level.
Can I reassign a practitioner’s clients without removing them?
Yes. Client assignments can be updated at any time from the client’s profile.
Can I give a practitioner access to only some clients without enabling full clinical access?
Yes. You can grant access to individual clients through Manage Access.
Related Resources
For more guidance on related workflows, these articles may be helpful: