
Managing Business Information
Updating your practice details, service locations, rooms, and account settings in Sessions Health is quick and straightforward. You can manage almost all of these details from one central place: Account Settings > Account.
👥 You will need Administrator permissions to update these settings. If you don't see these options, contact your account admin.
In this article:
- Editing Your Business Information
- Managing Service Locations
- Managing Rooms
- Managing Your Account Credit Card
- Referral Link
- Viewing Past Invoices
- 1099 Tax Forms
- Closing Your Account
- Frequently Asked Questions
- Related Resources
Editing Your Business Information
Your business details establish your practice identity across Sessions Health. These details show up on client portals, invoices, and system emails so your practice branding stays consistent.
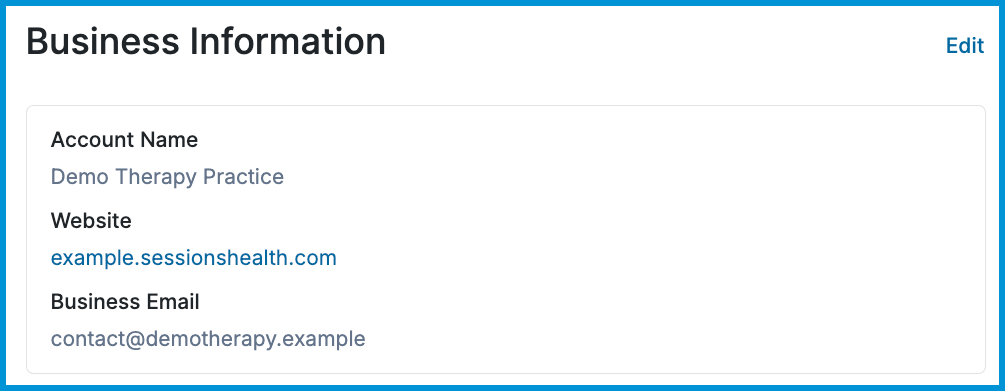
To edit your details, go to Account Settings > Account and click Edit above the Business Information box.
- Account Name: Your practice name. It appears in your top navigation bar, client portal invites, and notices.
- Website: Your practice web address, shown on client portal pages and billing headers.
- Business Email: The primary reply-to email address for client invoices and billing documents. If no Business Email is set, the system uses the email address of the team member sending the communication.
Managing Service Locations
Adding service locations makes scheduling easy and ensures your insurance claims use the right location information.
Adding & Managing Locations
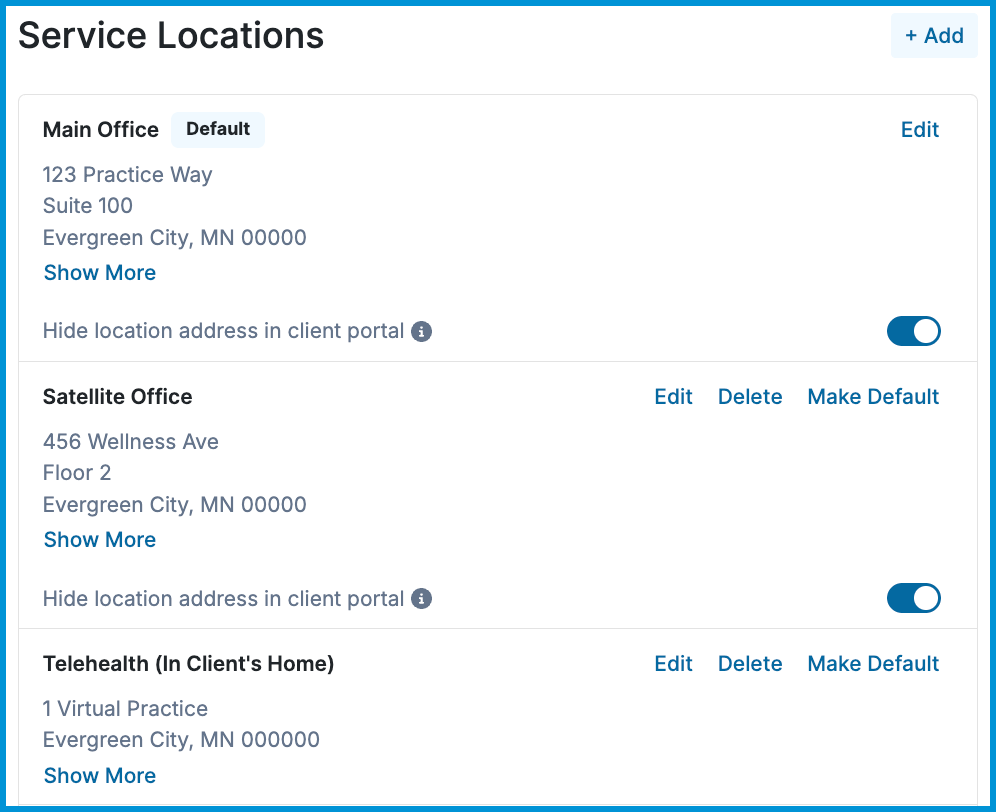
Go to Account Settings > Account > Service Locations:
- Click + Add (or Edit next to an existing location).
- Enter your location details (Nickname, Phone, Address, Time Zone).
- Select a Place of Service (POS) Code.
- Click Save.
Location Settings
- Set Default Location: Click Make Default on any location so new appointments pre-select this location.
- Hide Street Address: Toggle Hide location address in client portal to keep home or private addresses off your public portal page. Full addresses still appear on private appointment reminders sent to clients.
Place of Service (POS) Codes
Place of Service (POS) codes are standardized two-digit codes managed by the Centers for Medicare & Medicaid Services (CMS). They indicate where a healthcare service took place and are required on all insurance claims to ensure proper reimbursement and prevent claim denials.
When you assign a POS code to a location in Sessions Health, that code automatically populates on claims generated for appointments booked at that location.
Common POS Codes for behavioral health include:
- 11 – Office: In-person sessions held at a physical office or clinic.
- 02 – Telehealth (Other than Patient's Home): Virtual sessions where the client is located at a healthcare facility, office, or secondary location.
- 10 – Telehealth (In Patient's Home): Virtual sessions where the client is located in their private residence.
ℹ️ Some insurance payers require POS 02 for all telehealth claims. Check with your insurance payers if you aren't sure which code they accept.
Managing Rooms
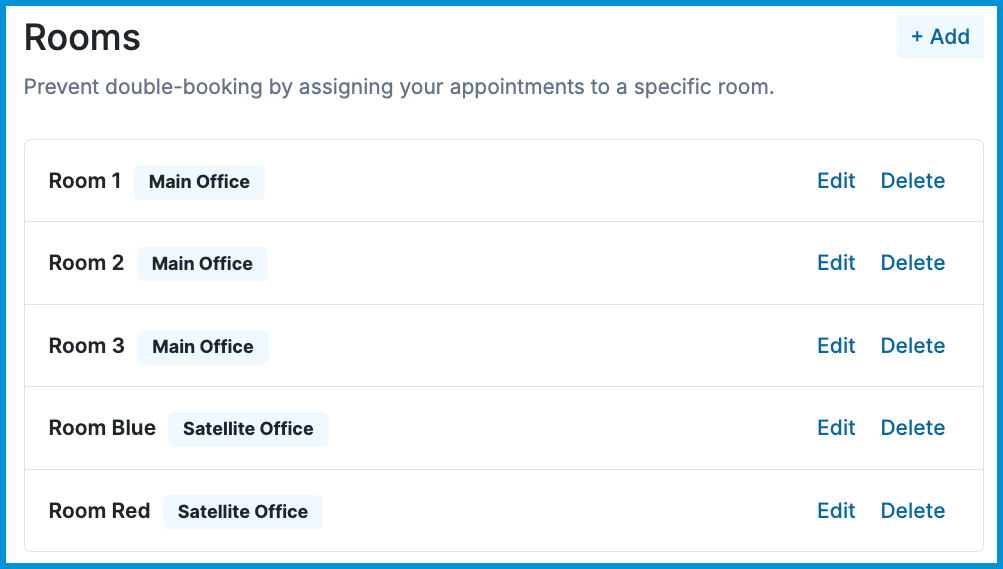
If you run a group practice or share office space, assigning rooms to appointments prevents team members from double-booking the same room.
Setting Up Rooms
- Go to Account Settings > Account > Rooms.
- Select + Add.
- Give the room a name.
- Choose which location(s) the room applies to.
- Select Save.
When booking, Sessions Health will display a warning if someone else has already reserved that room for the same time block.
Managing Your Account Credit Card
To add, edit, or update your credit card on file, navigate to Account Settings > Billing. For step-by-step instructions and payment rules, see our Account Billing guide.
Referral Link
You can view and copy your practice referral link under Account Settings > Billing. To learn how referral credits work for you and your colleagues, visit our Sessions Health Referral Program guide.
Viewing Past Invoices
View, download, or print historic subscription receipts anytime by navigating to Account Settings > Billing. Learn more in our Account Billing guide.
1099 Tax Forms
Sessions Health does not process payouts or issue 1099 forms directly. Any applicable tax forms are issued directly by Stripe or your insurance payers. For details, see our Tax Reporting article.
Closing Your Account
If you choose to close your Sessions Health account, you can initiate cancellation directly from your settings.
- Go to Account Settings > Account.
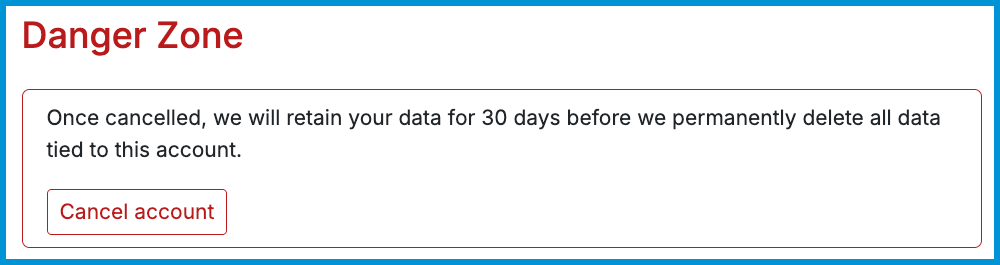
- Scroll to the Danger Zone section.
- Click Cancel account and follow the on-screen instructions.
💡 Data Retention & Storage Options:
- 30-Day Recovery Window: Once canceled, your practice data is retained for 30 days before permanent deletion.
- Storage Account Option: If you need to keep an archived version of your account without maintaining an active subscription, contact support@sessionshealth.com to learn about our low-cost Storage Account plan before your 30-day window ends.
Frequently Asked Questions
Will hiding my address on the Client Portal also hide it from client appointment reminders?
No. Hiding your location address only removes it from your public Client Portal homepage (ideal for home offices or private practices). Full location details and street addresses will still be automatically included in appointment confirmations and reminder emails sent directly to scheduled clients.
Why are client replies going to my personal email instead of the practice?
If the Business Email field is left blank in your settings, system communications and invoice reply-to headers automatically default to the email address of the practitioner who created the document or note. Make sure a central address is entered under Account Settings > Account > Business Information.
What is the difference between POS 02 and POS 10?
Both codes apply to telehealth sessions, but depend on where the client is physically located during the visit according to official CMS telehealth guidance:
- POS 10 applies when the client receives care from their home or private residence.
- POS 02 applies when the client is anywhere other than their home (such as a school, workplace, or secondary clinic).
Do all insurance payers accept POS 10?
No. Although POS 10 is the national CMS standard for telehealth provided in a patient's home, adoption varies among commercial insurance companies. Some private insurance payers still require POS 02 for all telehealth claims regardless of client location.
ℹ️ If you are unsure which telehealth code a specific insurance company requires, contact their provider relations team before submitting claims to avoid delays or denials.
What happens if I use the wrong POS code on a claim?
Submitting a claim with an incorrect or unaccepted POS code is a common reason insurance payers reject or deny reimbursement. Updating your location’s POS code in Account Settings > Account > Service Locations ensures future claims use the correct code automatically.
Can I still schedule an appointment if a room double-booking warning appears?
Yes. Sessions Health displays a warning banner when a room is already reserved for an overlapping time block, but team members can manually override the warning and save the appointment if shared room usage is intended.
Related Resources
For more information, check out these related articles: