
For Clients: Client Intake Overview
When your provider invites you to the client portal, you will receive an email to set up your account. The portal is a secure space to complete paperwork, view documents, manage appointments, and pay bills.
🔒 A Note About Your Medical Records
Your client portal contains private health records managed by your provider. Sessions Health cannot change, delete, or remove access to your records for you.
If you have questions about your records, need to make updates, or want to close your portal account, please contact your provider directly.
In this article:
- Accept Your Invitation & Create an Account
- Step 1: Sign Consent Forms
- Step 2: Enter Your Basic Information
- Step 3: Add Insurance Information
- Step 4: Fill Out Your Intake Forms
- Step 5: Access Your Portal Anytime
- Frequently Asked Questions
- Related Resources
Accept Your Invitation & Create an Account
- Open the invitation email from your provider and select Accept Invitation.
- Create a password.
- Select Continue.
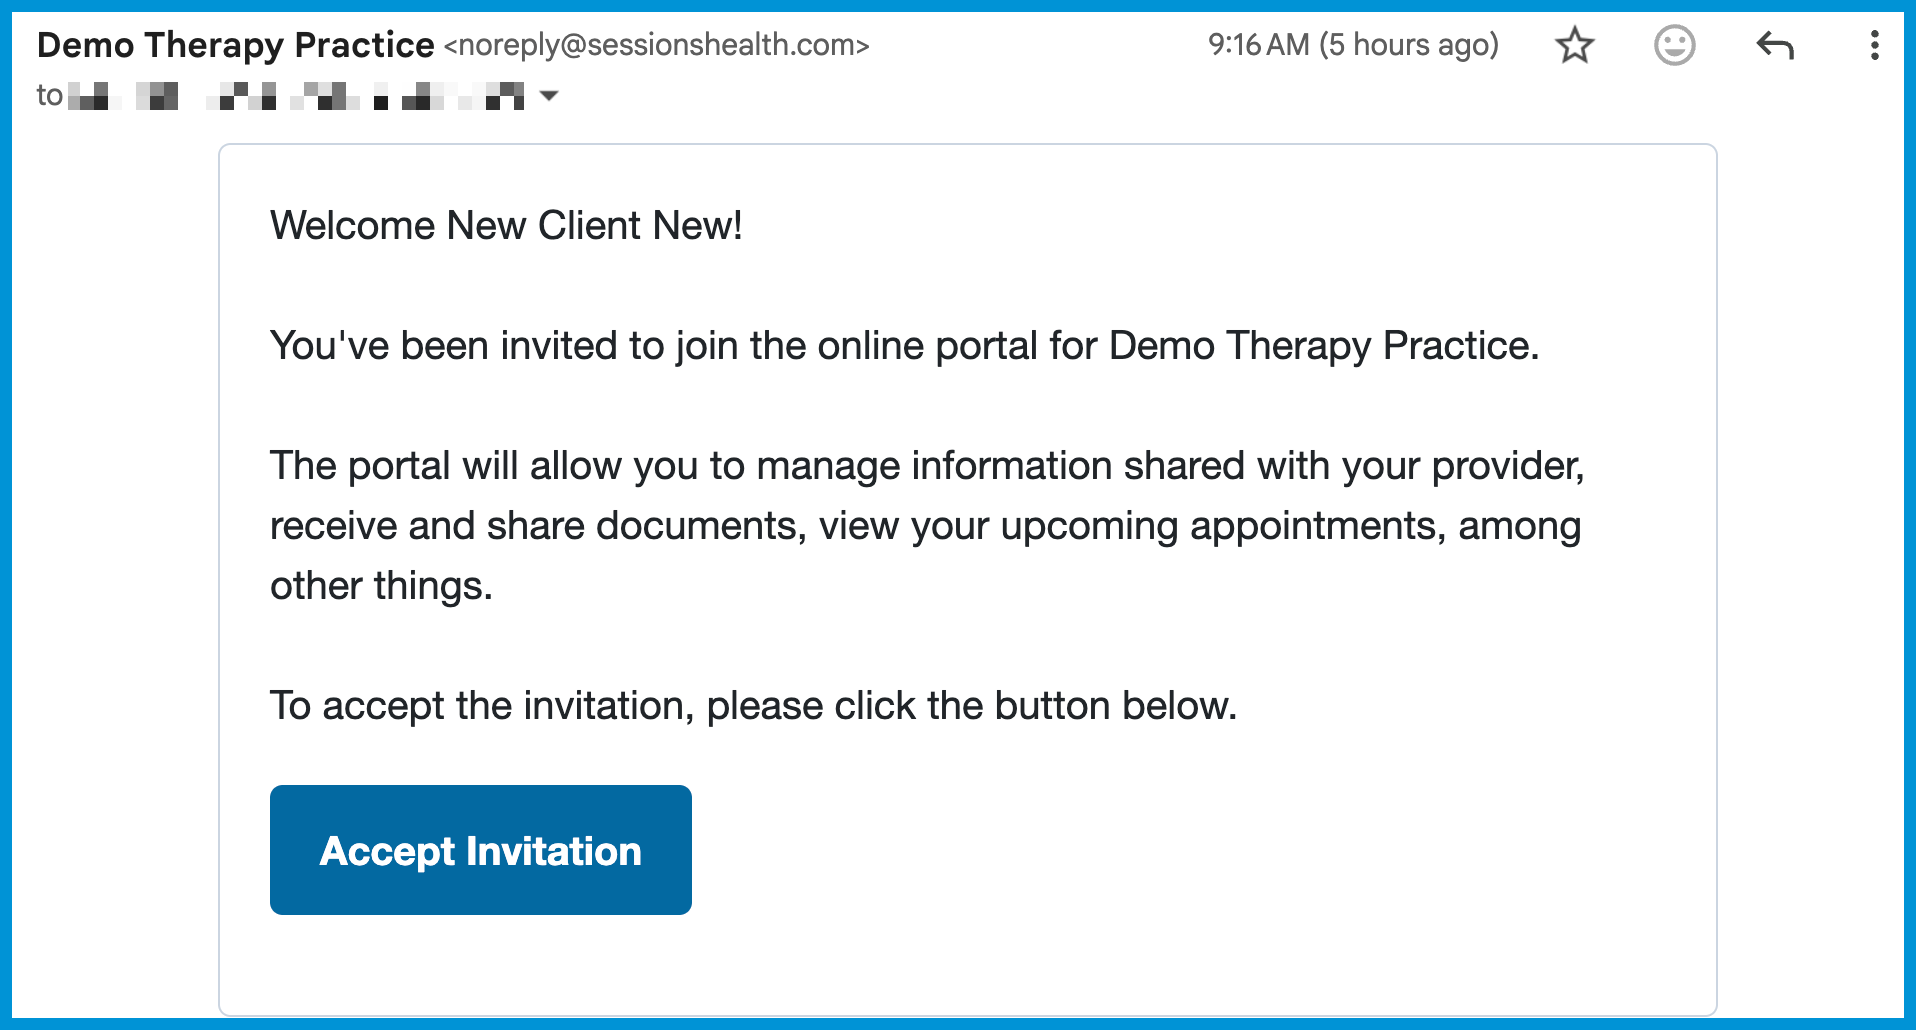
💡 Can't find your invitation? Search your inbox or spam folder for noreply@sessionshealth.com
Step 1: Sign Consent Forms
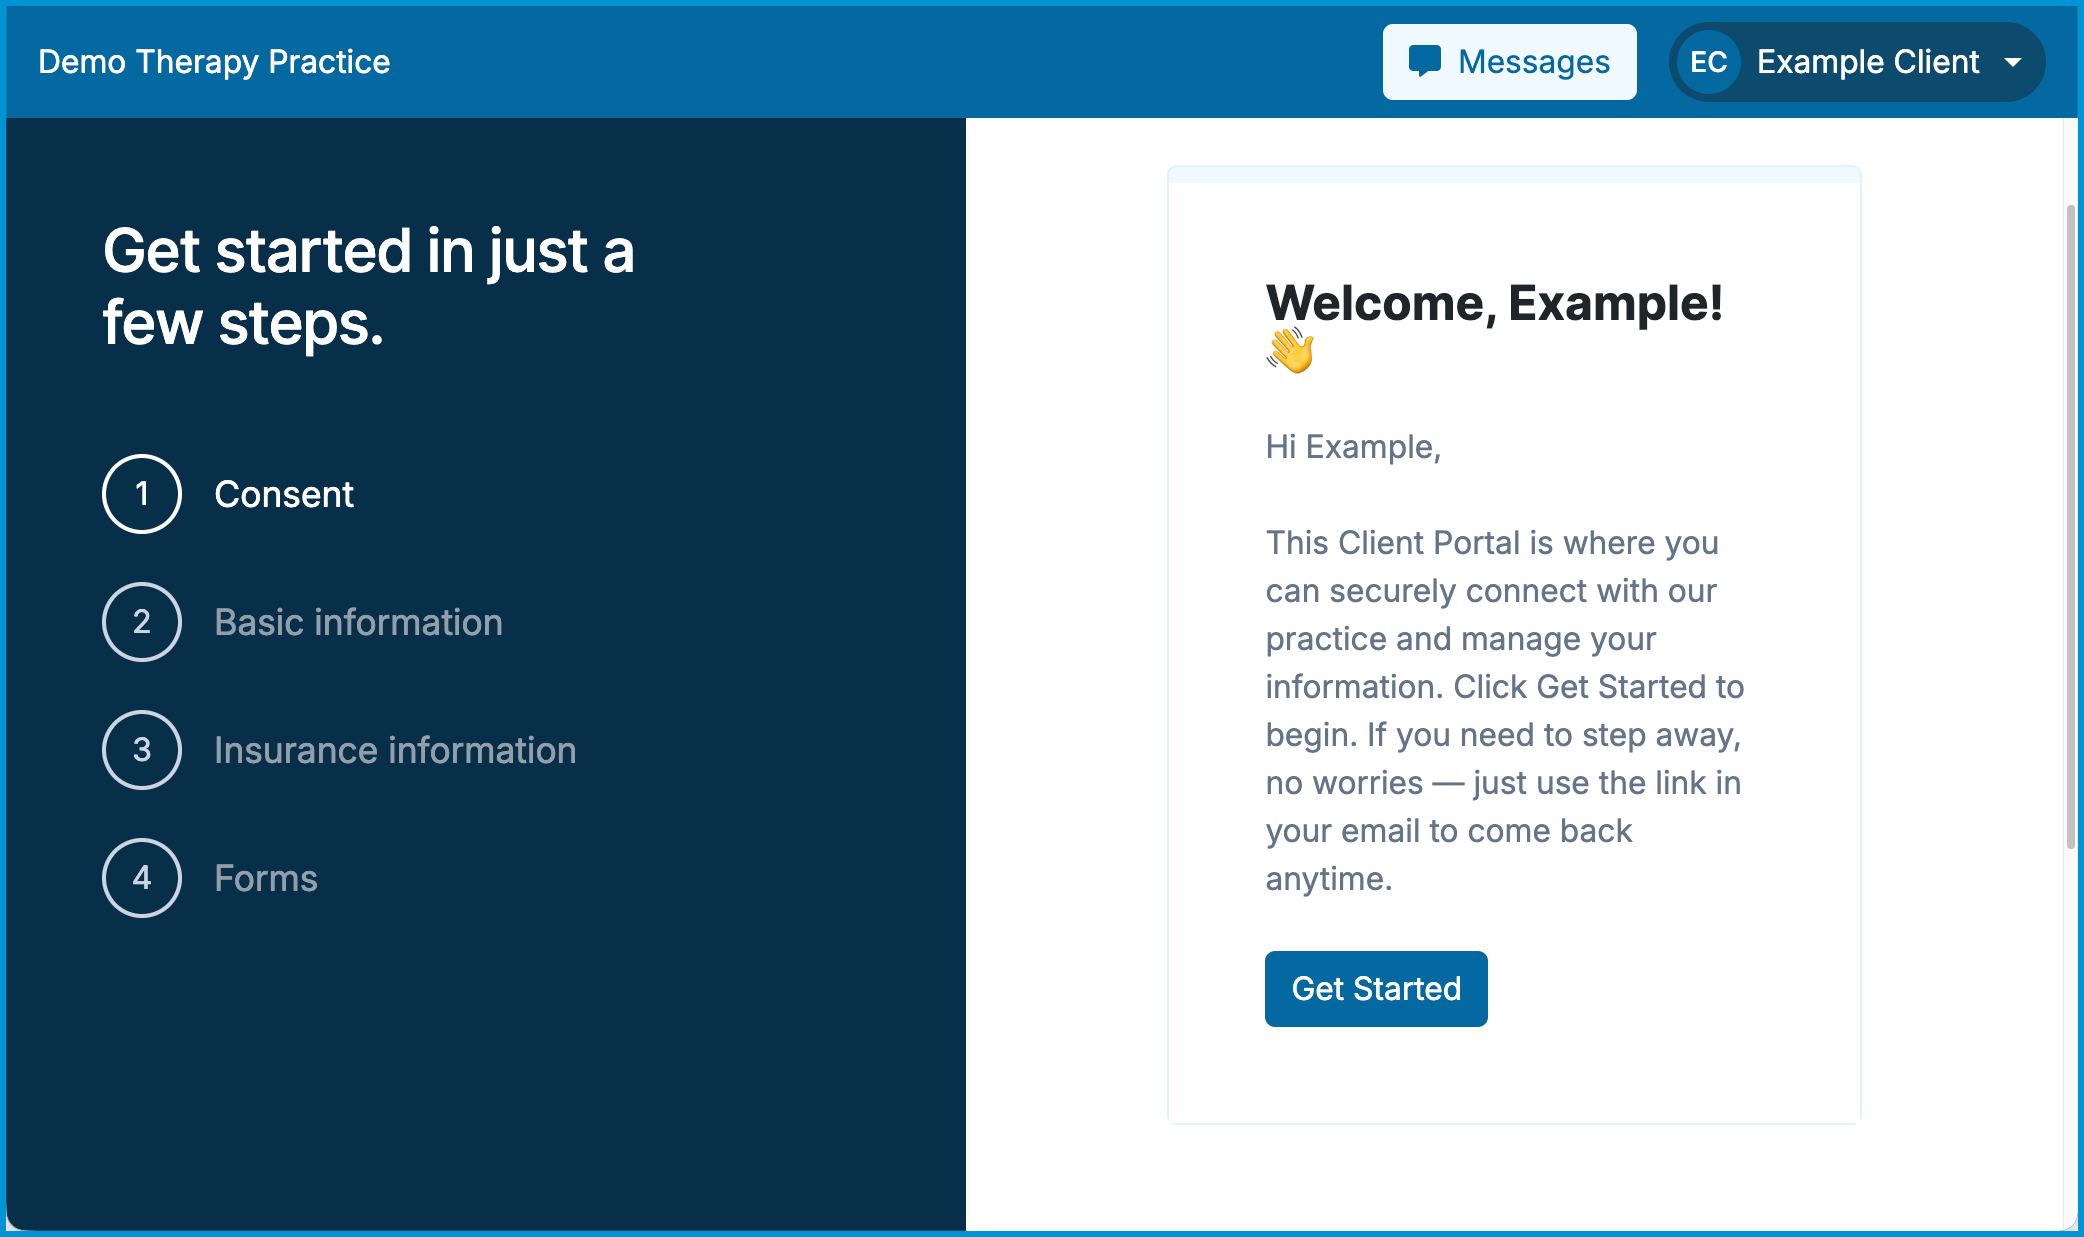
Next, you will review practice policies and consent forms from your provider.
- Select Get Started.
- Read the form.
- Check the agreement box at the bottom and type your legal name to sign.
- Select Sign & Continue.
Step 2: Enter Your Basic Information
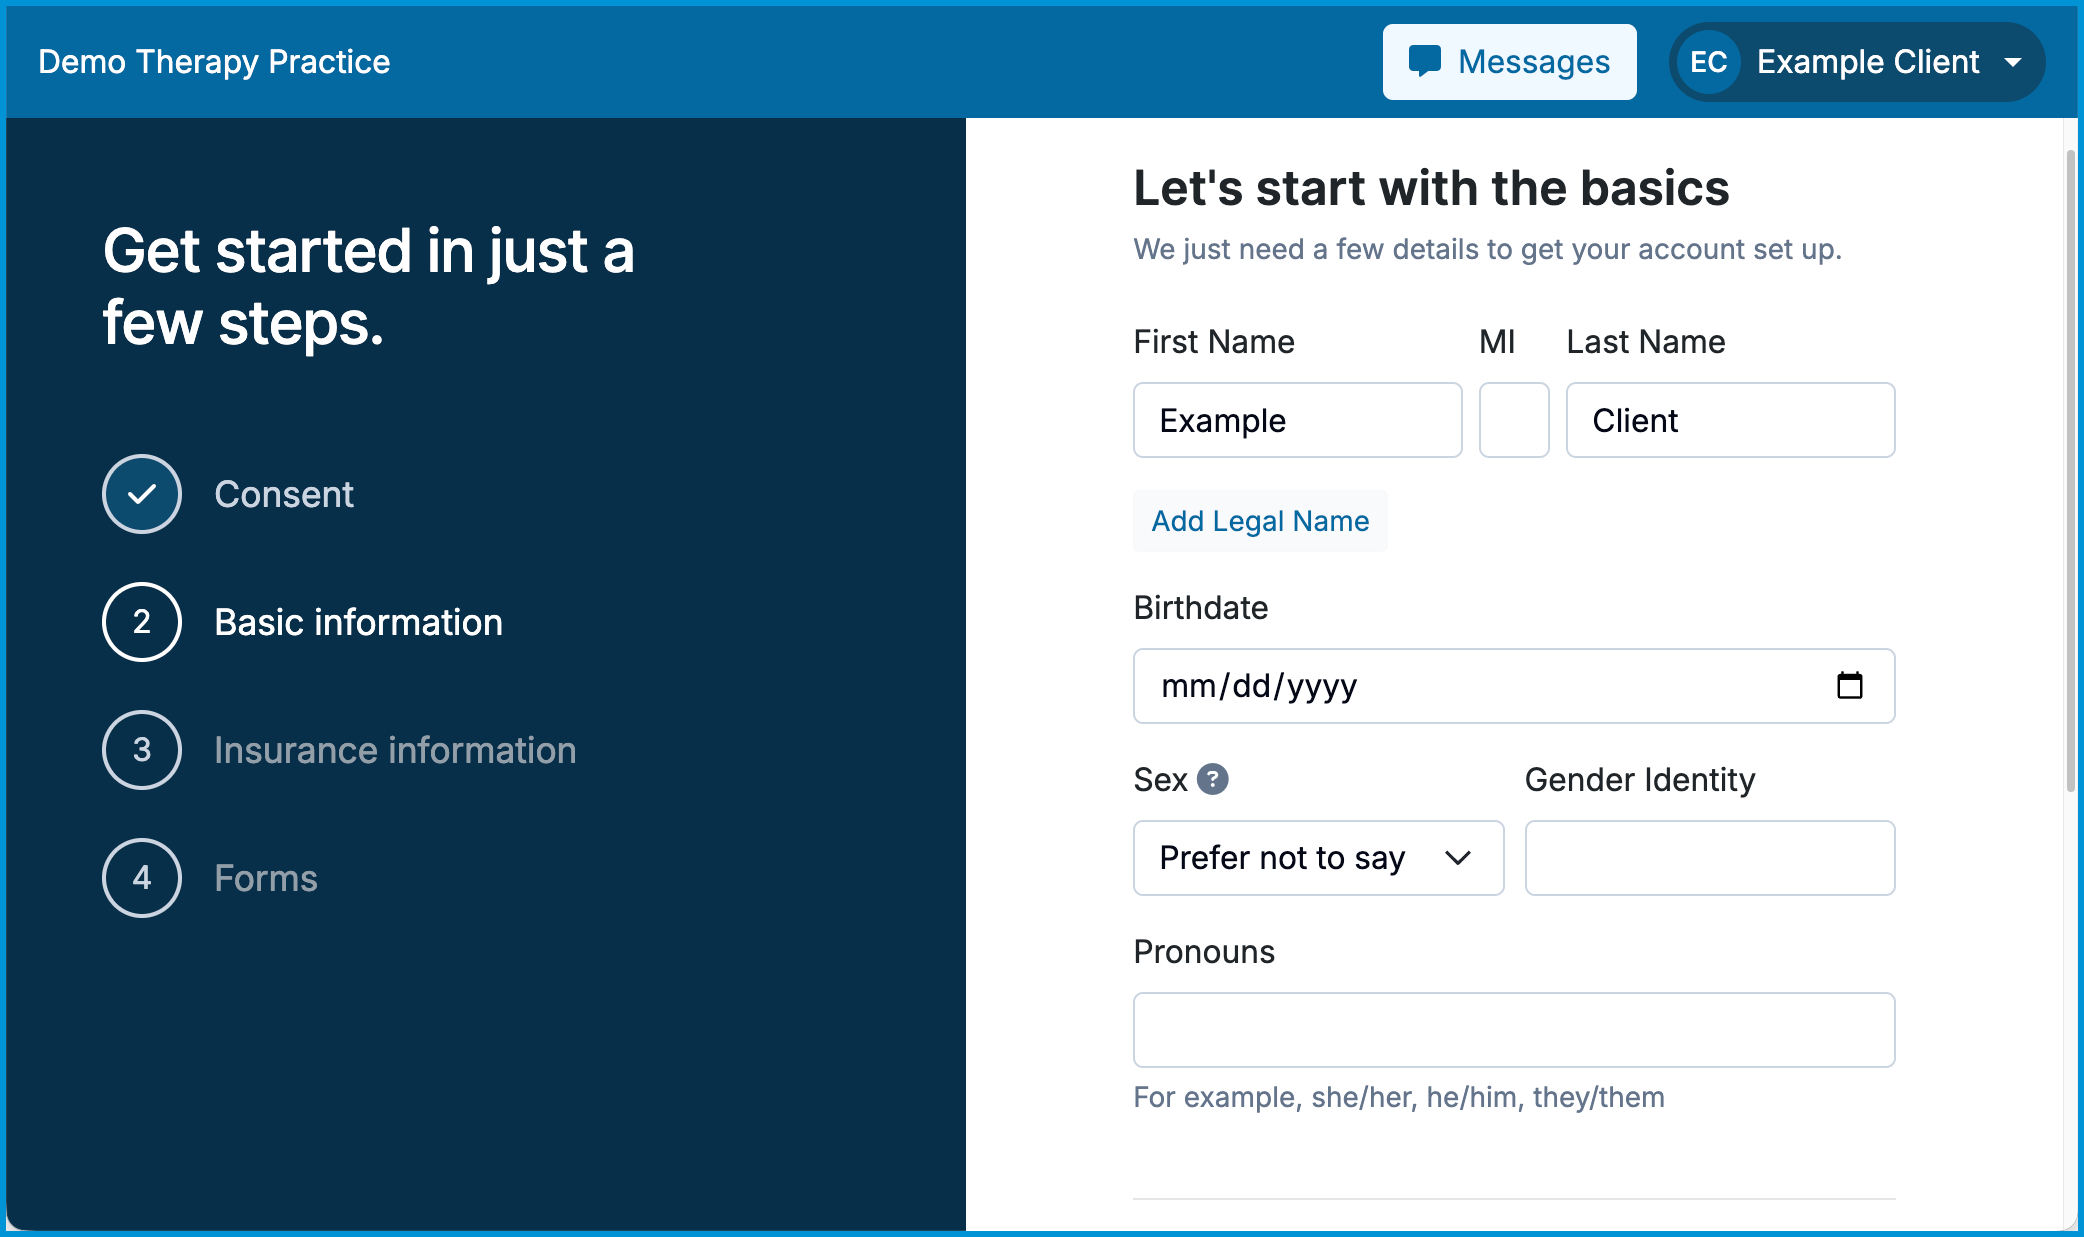
Fill out the requested information. Select Continue after each section is completed.
- Name: Confirm your name. If your legal name is different from your preferred name, click Add Legal Name to add it.
- Demographics: Enter your birthdate, sex, gender identity, and pronouns.
- Contact Info & Time Zone: Enter your address and phone number. Select your local time zone so your appointment reminders are accurate.
- Contact Preferences: Choose whether you want appointment reminders sent by text, email, or phone.
Step 3: Add Insurance Information
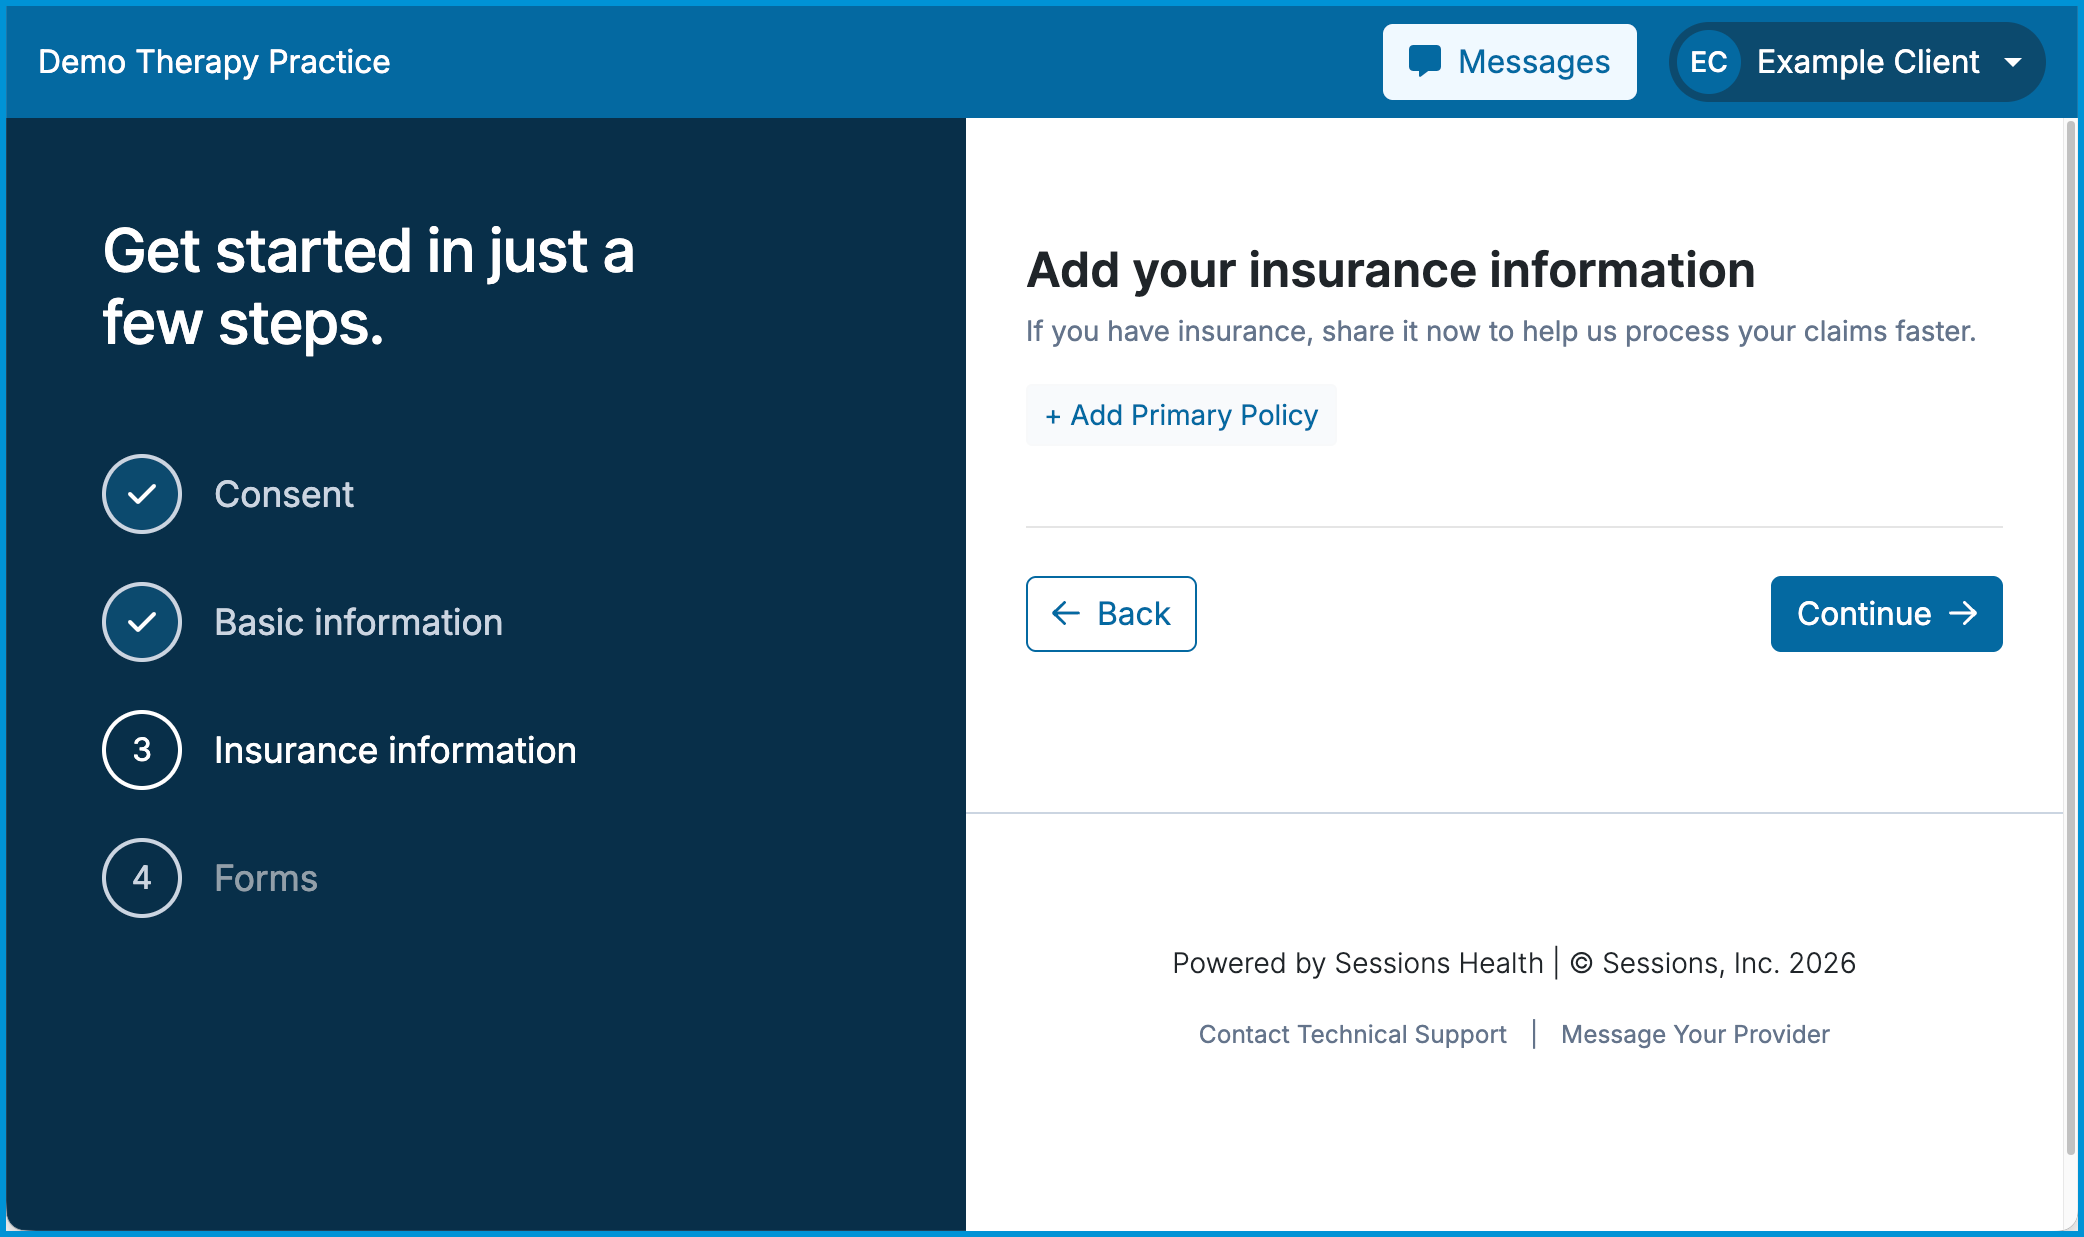
If your provider collects insurance details, enter your policy information. If you are self-paying or not using insurance, you can skip this step. Optionally add a secondary policy after saving your primary policy.
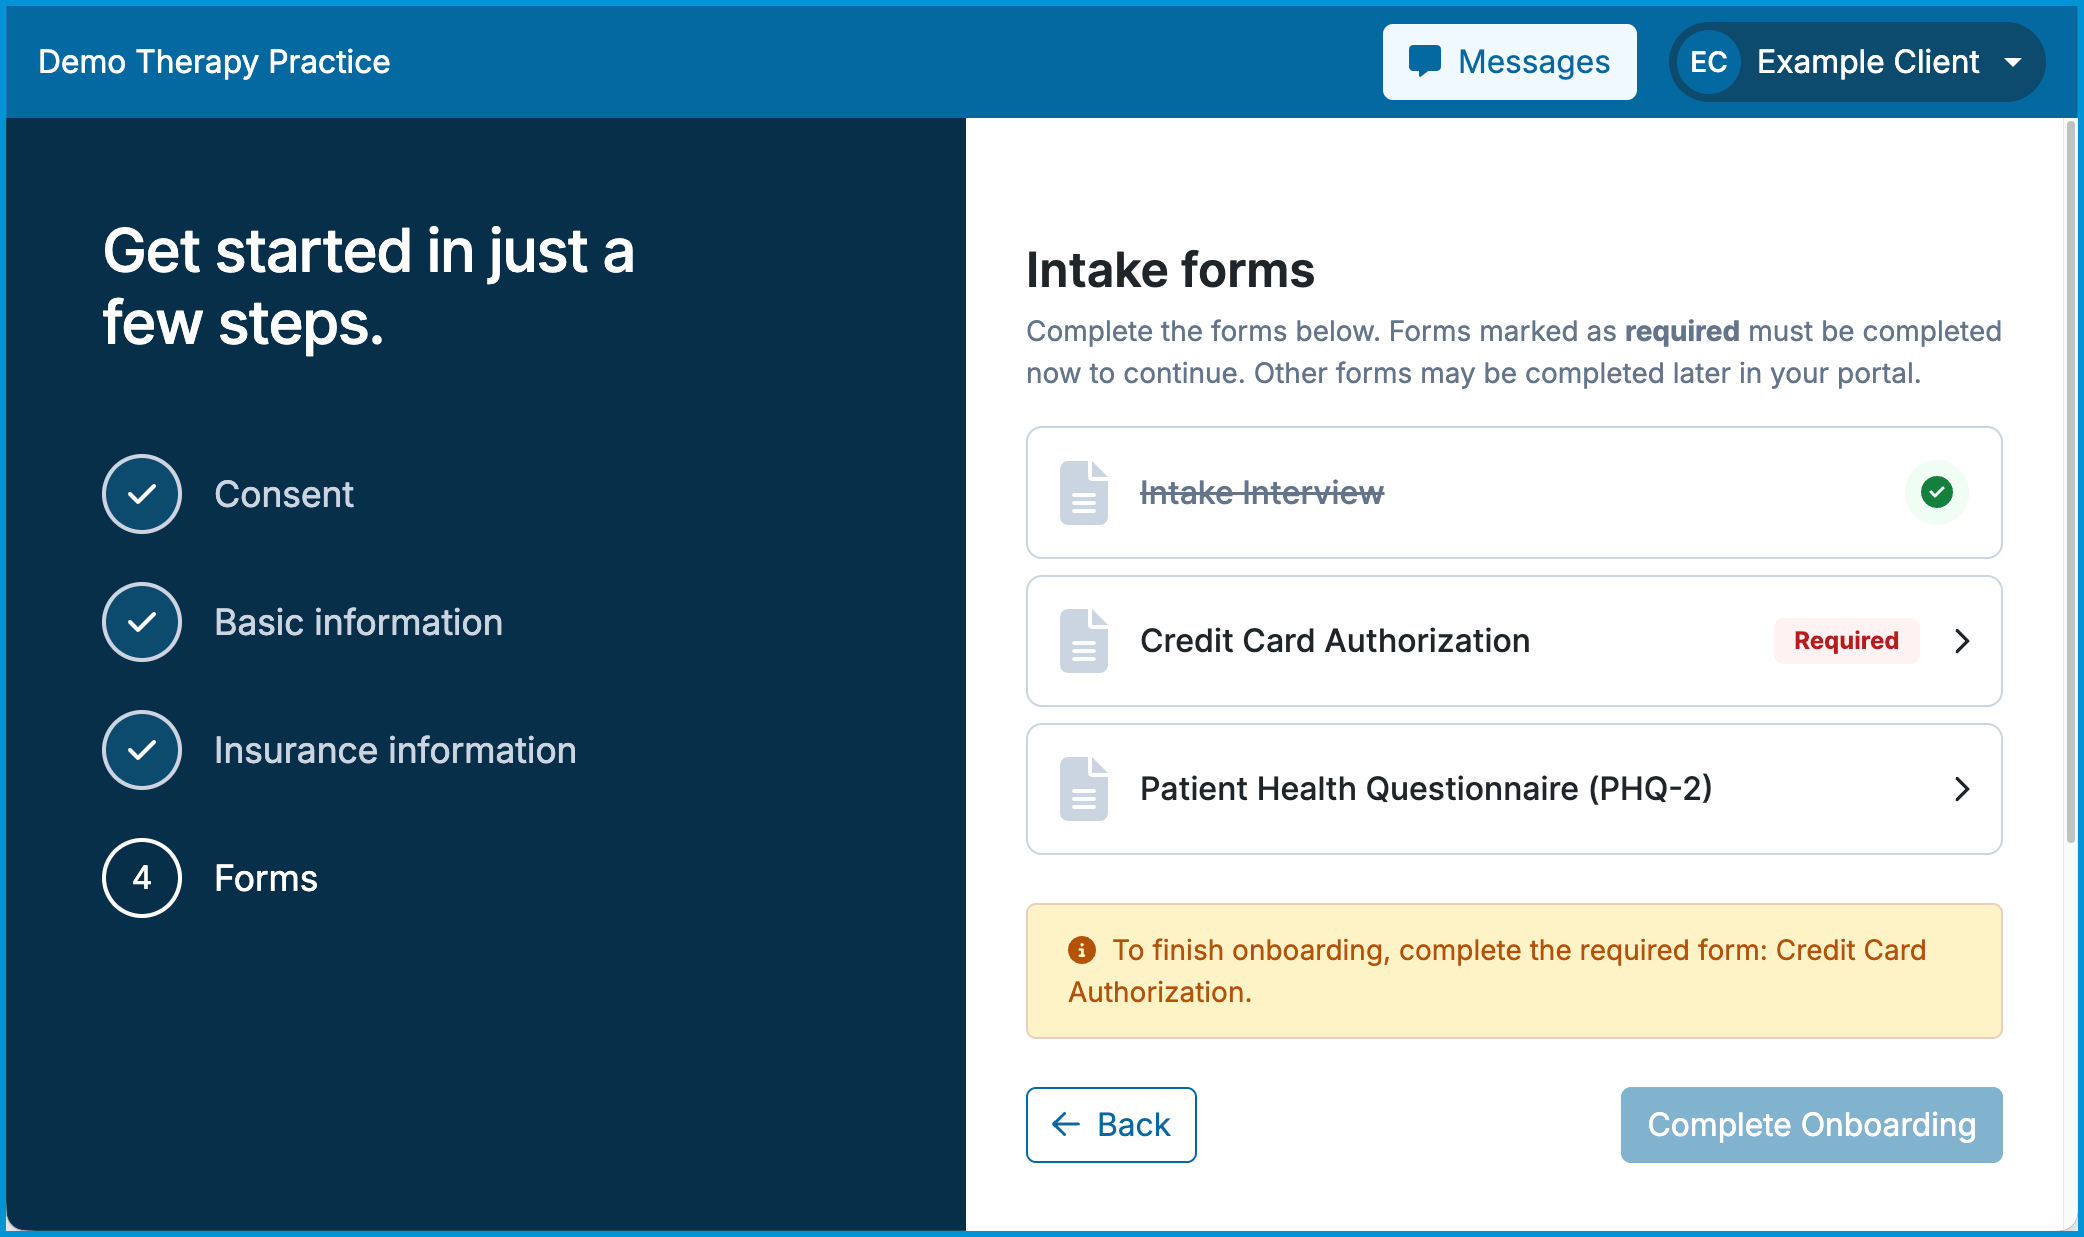
Step 4: Fill Out Your Intake Forms
Complete the intake paperwork requested by your provider (such as health history or agreement forms).
- Required Forms: Forms marked with a red Required tag must be completed to finish setting up your account.
- Autosave & Helpful Alerts: Your answers save automatically as you type. If you miss a required question, it will highlight in red so you can quickly fix it.
Once all required forms are complete, select Complete Onboarding.
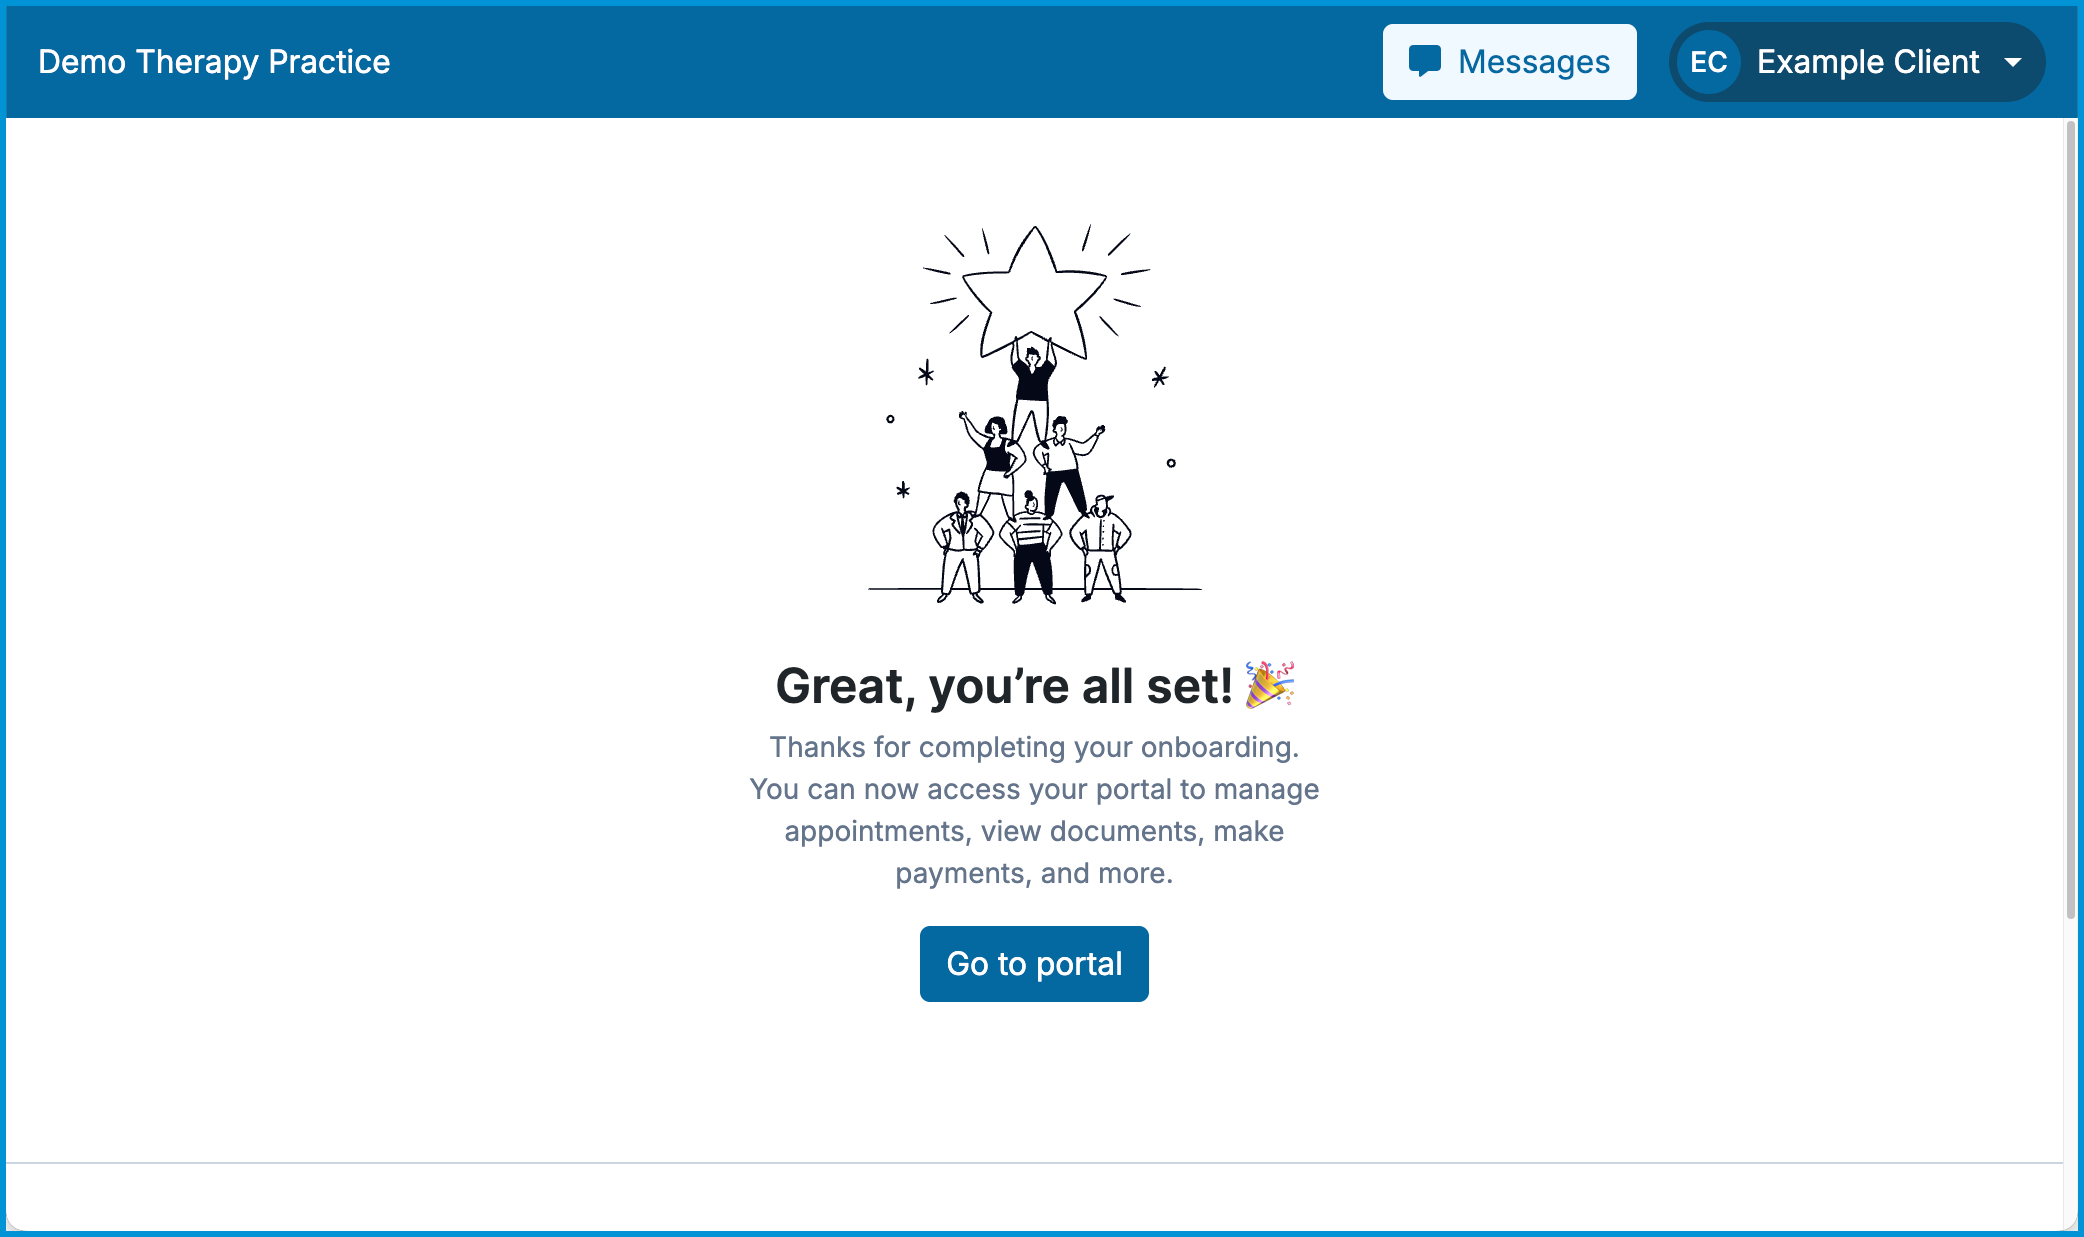
Step 5: Access Your Portal Anytime
Select Go to Portal to open your main dashboard.
If you skipped any optional forms, you can find them anytime by clicking the Documents & Forms tab at the top of your screen.
Frequently Asked Questions
Can I stop and finish my paperwork later?
Yes. Your answers save automatically as you type, so you can leave and log back in later without losing your work. Just keep in mind that your account setup will not be complete until all forms marked Required are filled out and submitted.
What if my invitation link expired or I forgot my password?
If your initial invitation link has expired, ask your provider’s office to send you a new one. If you already created an account but forgot your password, select Forgot Password? on the portal login page to reset it.
Can I change my answers after I submit a form?
Once a form is completed and submitted, it cannot be edited directly in the portal. If you need to update an answer, send a message to your provider so they can share a new form with you.
Can I complete this paperwork on my phone?
Yes. You can access the client portal and complete all onboarding forms using any web browser on a smartphone, tablet, or computer.
Related Resources
For more information about your Client Portal, see these articles: