Using the Client Portal
The Client Portal gives clients a secure place to complete onboarding, manage appointments, upload documents, and interact with your practice online. Administrators control which features are available and how the portal works across the practice. The sections below outline each practice‑level setting so you can configure the portal with confidence.
In this article:
- Video Tutorial
- Turning on the Client Portal
- Portal Features
- Client Onboarding Settings
- Client Information
- Forms, Assessments & Documents
- Configuring the Portal Homepage
- Notifications
- Frequently Asked Questions
- Related Resources
Video Tutorial
This video provides a quick walkthrough to get started with the Client Portal.
See our Client Portal video tutorials for more videos.
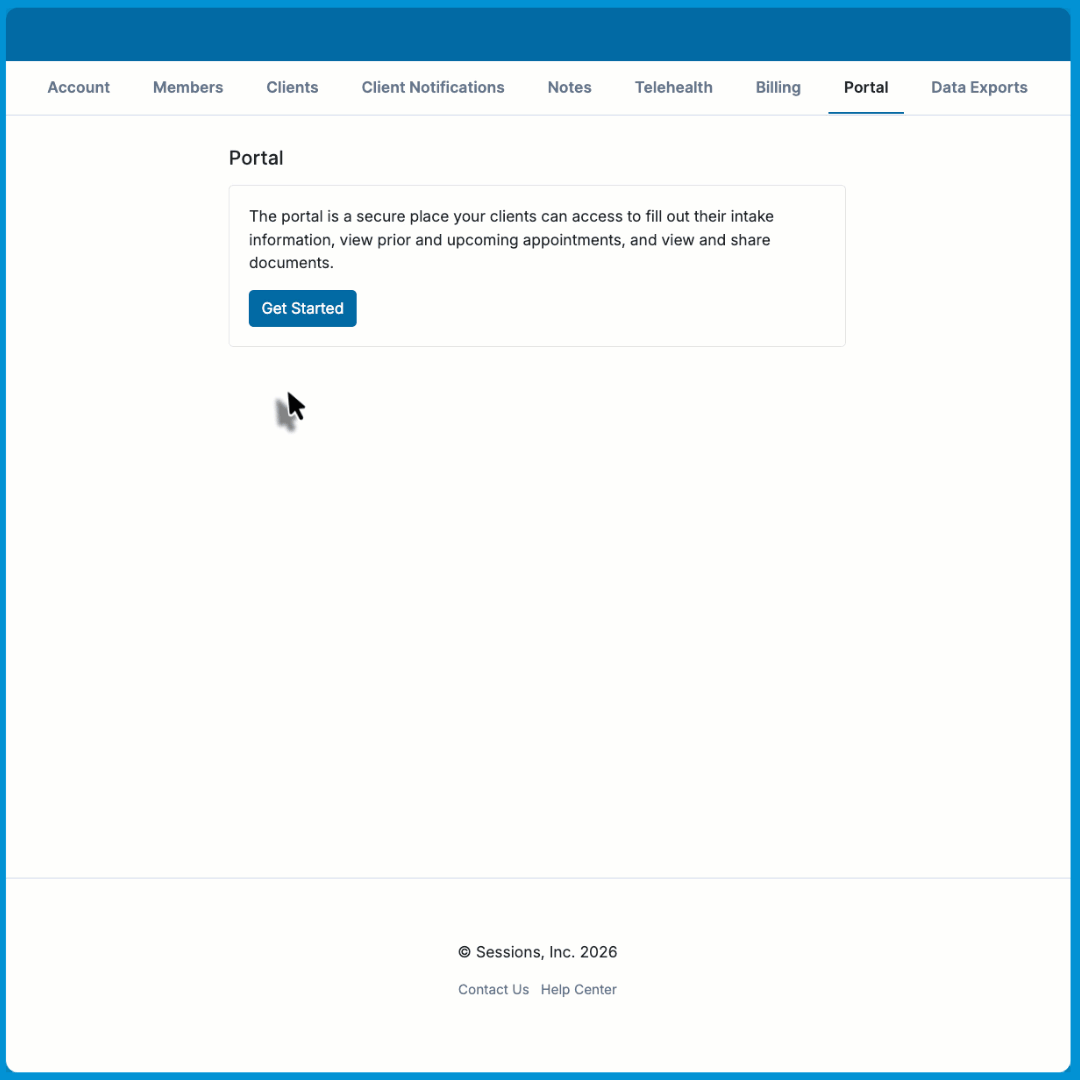
Turning on the Client Portal
When your practice first logs into Sessions Health, the portal is off by default. Enabling it activates your practice’s unique portal link.
🔗 Tip: Your Portal Address: This is the custom link clients use to access your portal. Choose a short, memorable name for your practice. Enter the name only and do not type https:// or .sessionshealth.com.
Example: Entering yourpracticename creates https://yourpracticename.sessionshealth.com.
To turn on the Client Portal:
- Go to Account Settings > Portal.
- Select Get Started.
- Enter your practice’s unique link (for example: yourpracticename).
-
Select Continue.

Portal Features
ℹ️ These toggles control what clients can do in their portal. These settings apply to the entire practice, and practitioners can only use features enabled here.
- Online Appointment Requests: Clients can request appointments based on the availability practitioners offer. Requests appear in the practitioner’s calendar. See Online Booking Using the Client Portal.
- Client Appointment Cancellation: Clients can cancel appointments within the cancellation window you set.
- Secure Messaging: Clients and practitioners can exchange HIPAA‑compliant messages through the portal. See Secure Messaging for Practitioners.
- Client Uploads: Clients can upload documents to their portal. Uploaded files appear in the client’s profile under Documents.
- Online Payments: Clients can pay invoices and save a payment method when online payments are enabled. See Client Payments: Online Payments.
Client Onboarding Settings
You can customize the messages clients see when they’re first invited to the portal.
Email Invitation Template
Edit the email clients receive when they’re invited to join your portal.
- Personalize the greeting and overview in the editor.
- Add tokens like Practice Name or Client First Name to fill in details automatically.
- The email always includes a secure Accept Invitation button that can’t be removed.
Portal Welcome Message
Edit the message clients see when they open the portal for the first time.
- Use this space to welcome them and explain what to do next.
- Tokens like Client First Name and Practitioner Name personalize the greeting.
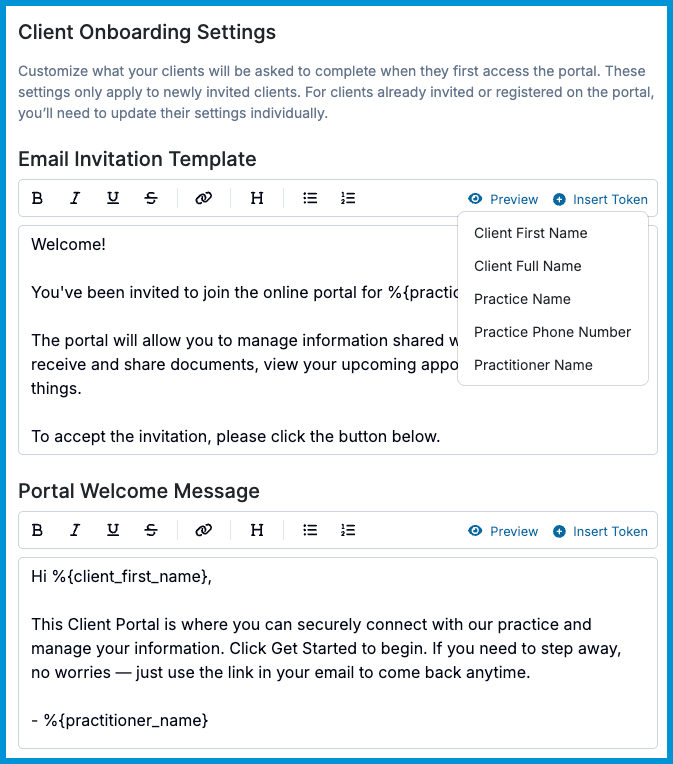
💡 Select Preview to view your messages before sending.
Client Information
Choose what details clients provide during onboarding. Each option can be turned on or off depending on what your practice collects.
- Demographics: Gather basic information, including birthdate and gender.
- Request Client’s Legal Sex Designation: Capture the client’s legal sex for insurance‑compliant billing and electronic claims.
- Contact Information: Collect phone number and address details.
- Contact Preferences: Let clients choose how they prefer to be contacted and manage appointment reminder settings.
- Insurance Information: Allow clients to enter insurance details directly through the portal.
Forms, Assessments & Documents
Choose which forms, assessments, and documents appear for clients during onboarding. You can manage which forms and assessments are available from Forms & Documents > Forms.
- Consent Forms: Enable practice policies or consent forms for clients.
- Intake Forms: Include forms like intake interviews, releases, or payment authorizations.
- Assessments: Turn on the assessments your practice uses.
- Shared Documents: Add downloadable resources such as worksheets or policies.
ℹ️ You can Create Custom Forms or use our default System Forms.
Configuring the Portal Homepage
The Client Portal homepage shows your practice name and any in‑person locations you choose to display. You can control whether your office address appears by updating your location settings in Account Settings > Service Locations. For full steps, see Hiding Your Location Address in the Client Portal.
If online booking is enabled, the I’m a new client button appears automatically when a practitioner has availability for new clients. To learn more about how booking and locations work in the portal, see Online Booking Using the Client Portal.
Notifications
Practitioners receive a notification when a client completes their onboarding, including any initial intake paperwork. You’ll also be notified in the Daily Digest when a client completes or signs a treatment plan or assessment, or uploads a document through the portal.
Frequently Asked Questions
Which link should clients use to access my portal?
Clients should use your practice’s unique portal address, not the main Sessions Health website. Every practice has its own subdomain, for example, yourpracticename.sessionshealth.com. Sharing this link ensures clients land directly in your portal and can log in without issues.
Can I change my portal URL or link later?
Your portal URL is based on the link you chose when you first enabled the portal. If it needs to be changed, contact support@sessionshealth.com.
What happens if I disable a feature after clients have already used it?
The feature disappears from the client’s portal immediately, but any completed forms or uploaded documents remain in the client’s profile.
Can I preview the portal as a client?
Yes. Your portal link appears at the top of the Account Settings > Portal page. You can also use a test client to preview onboarding.
Do you offer personal branding and logos in the client portal?
Your client portal includes your practice name, address, and online scheduling options if you choose to enable them. We don’t currently support additional customizations such as adding your logo, but we plan to offer more flexibility for personalizing the portal in the future.
Related Resources
For more information on using and configuring the portal, see the articles linked above or check out our Help Center:
- Inviting Clients and Sharing Documents in the Client Portal
- Client Portal for Minors
- Online Booking Using the Client Portal
- Secure Messaging
- Insurance: Client Insurance in the Portal
To see the client experience, explore our Client Portal articles or watch the Client video tutorials.