Inviting Clients and Sharing Documents in the Client Portal
This article walks you through how to invite clients to the Client Portal, resend invitations, and share forms and documents. These actions help streamline onboarding and keep your documentation organized.
💡 Clients need a valid email address on file to access the Client Portal.
In this article:
- Inviting a Client to the Portal Through the Setup Wizard
- Inviting a Client to the Portal From Their Profile
- Resending a Portal Invitation
- Sharing Forms & Documents Through the Client Portal
- Frequently Asked Questions
- Related Resources
Inviting a Client to the Portal Through the Setup Wizard
You can invite a new client to the portal as part of their initial setup.
To invite a client from the Setup Wizard:
-
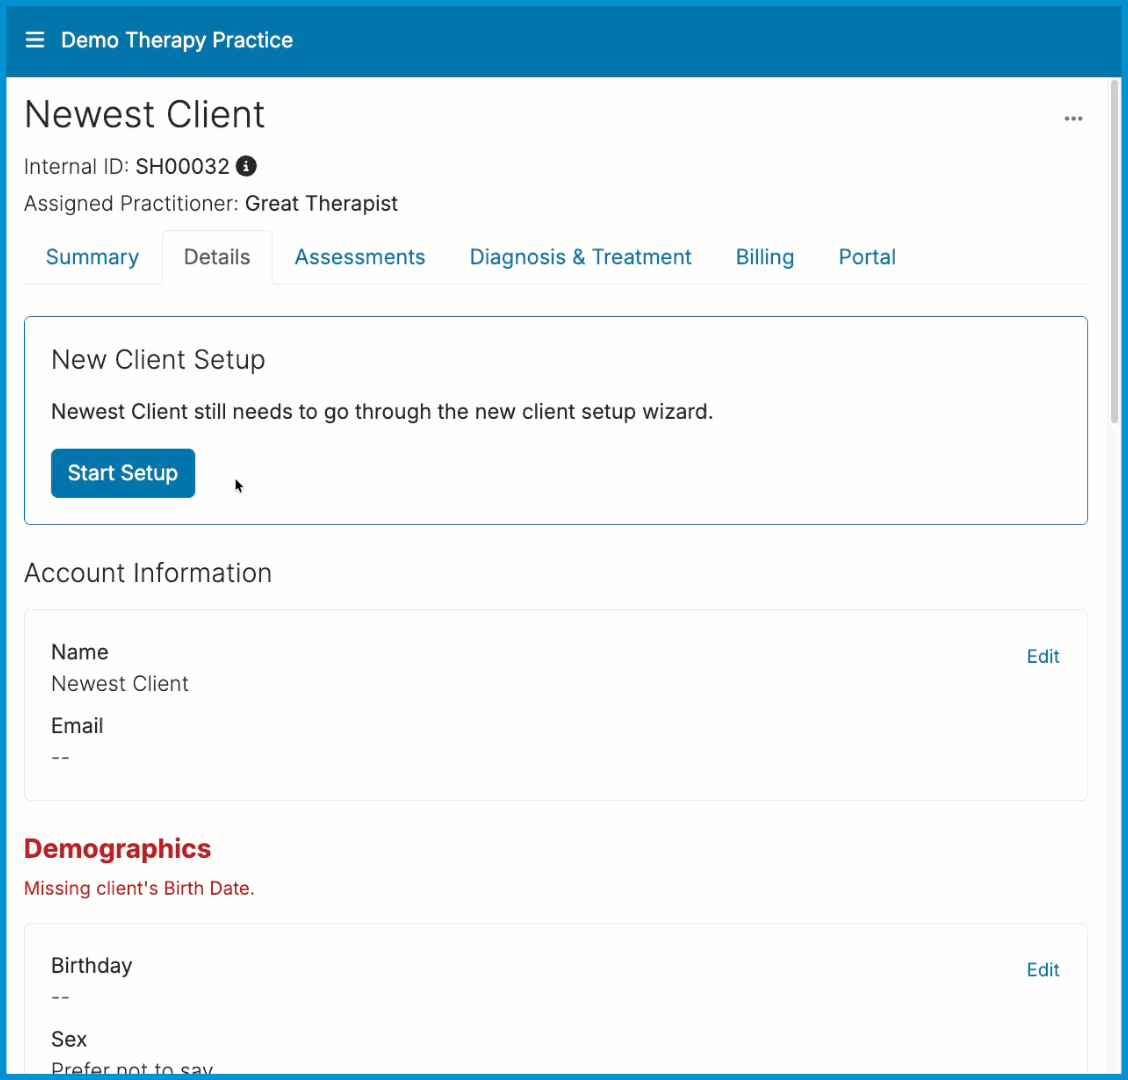
From the client’s profile, open the Details tab and select Start Setup.
-
Enter the client’s email address, then select Continue.
-
Select Invite to Portal.
-
Choose the features and forms you want to include.
- Select Send Invitation.
Inviting a Client to the Portal From Their Profile
You can invite imported clients or clients who already completed the Setup Wizard at any time.
ℹ️ Imported clients are not automatically invited to the Client Portal. You’ll need to send each client an invitation.
To invite a client from their profile:
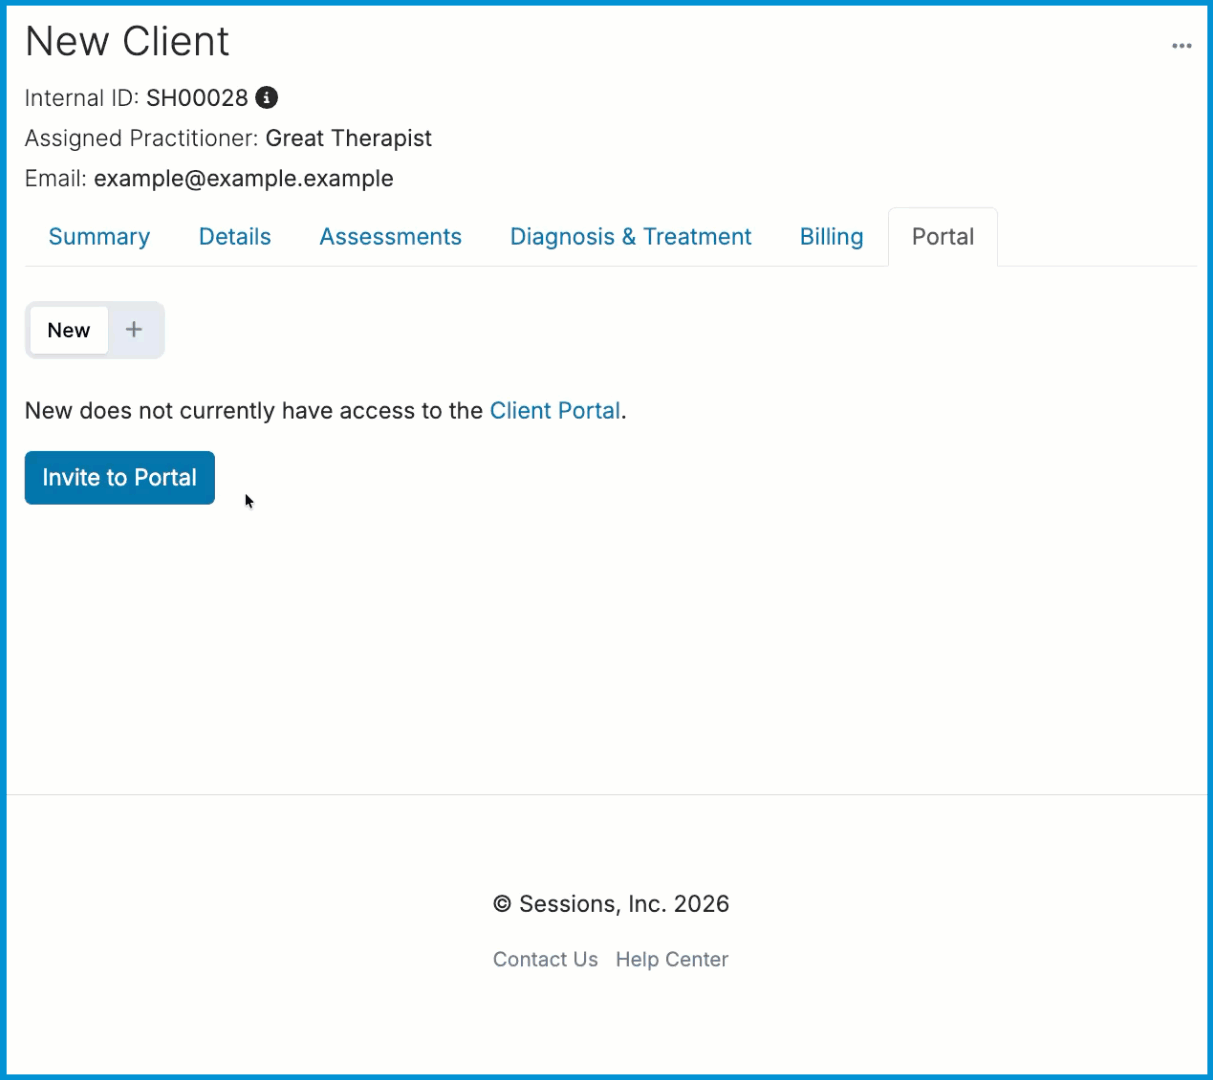
-
From the Client's profile > Portal tab > select Invite to Portal.
-
Choose the features and forms you want to include.
- Select Send Invitation.
Resending a Portal Invitation
If a client hasn’t accepted their invitation, you can resend it at any time.
ℹ️ Clients sometimes overlook the portal invitation email. Ask them to search for Sessions Health or check their spam/junk folders.
To resend an invite:
-
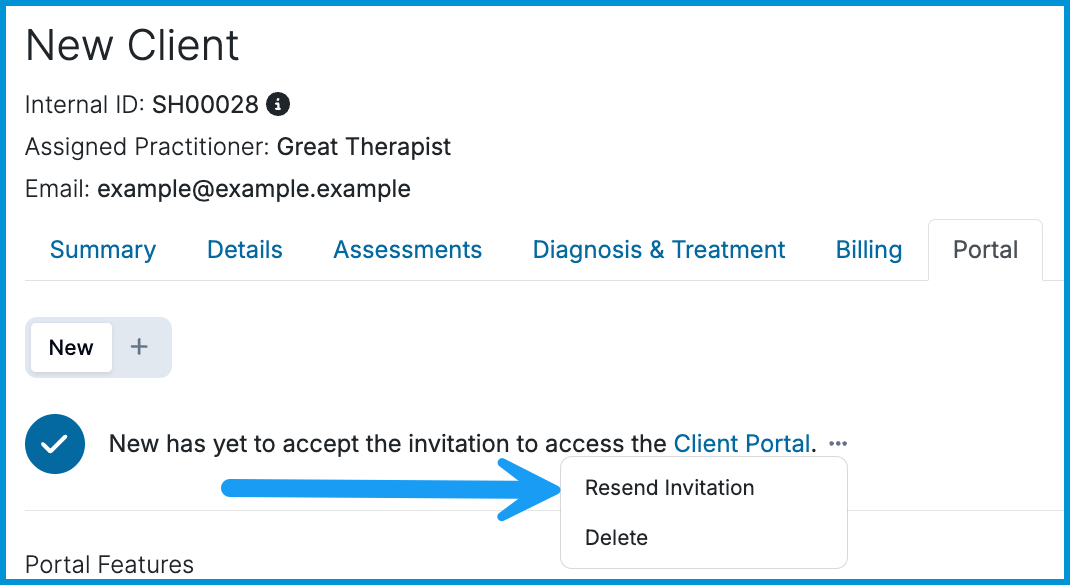
From the Client's profile > Portal tab > select the three-dot menu.
- Choose Resend Invitation.
Sharing Forms & Documents Through the Client Portal
You can share intake forms, assessments, questionnaires, and other custom forms with clients.
To share documentation with clients:
-
Go to the Client's profile > Portal tab.
-
Under Requested and Shared Documents, select Manage Documentation.
-
Select the forms or documents you want to share, or deselect any you want to remove.
-
Select Continue.
- Select Save or Save & Send Notification.

ℹ️ If you choose Save & Send Notification, the client receives an email that a new form or document is available.
If a client needs a form resent, you can trigger a new notification from their portal settings:
-
From the Client's profile > Portal tab > select Manage Documentation.
-
Uncheck the form you want to resend.
-
Select Save.
-
Select Manage Documentation again and recheck the form.
-
Select Save.
This sends a fresh notification and makes the form available again in the client portal.

Frequently Asked Questions
What if a client can’t find their invitation?
Ask them to check spam or junk folders. You can also resend the invitation from the Portal tab.
Can I change which forms a client sees later?
Yes. Return to Manage Documentation to add or remove forms at any time.
Can I disable access for a specific client?
Yes. From the client's Portal tab, you can delete an invitation by clicking the three-dot menu next to their invite and selecting Delete. You can also remove access for a client who has already accessed the portal by selecting Disable Access.
Related Resources
For more information on the Client Portal, see our other Help Center articles: